Being able to pull fun ideas seemingly out of thin air sets you up as a hero in your child’s life story. Make sure you have thought it through and have all the necessary ingredients, bits and pieces on hand before suggesting something. It doesn’t have to be complicated – the simpler the better. Kids love it when they know you have a plan, and in our materialistic world they are still impressed when you create fun out of nothing, particularly if you share the experience with them.
Here are three ideas for this week which are simple to do and don’t require much in the way of specialised equipment or ingredients.
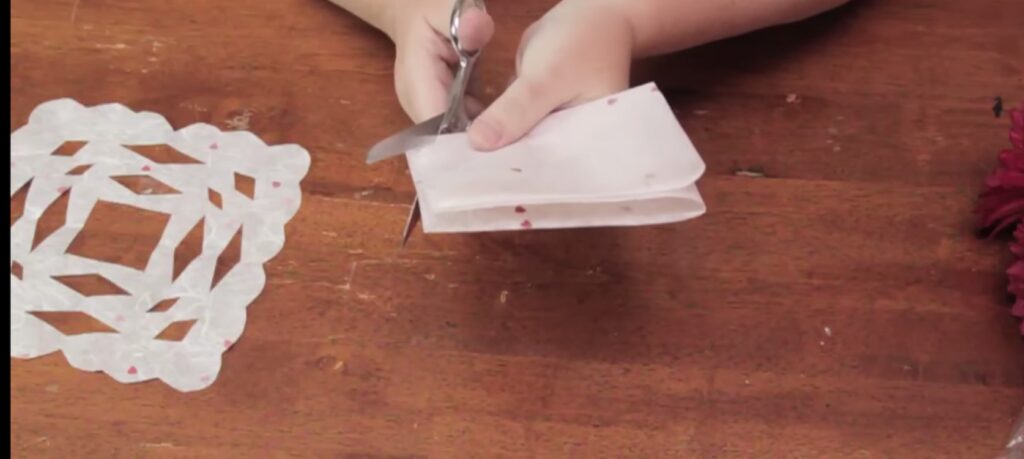
Paper lace making
This fun activity can be used for a purpose, such as making ‘lace’ place mats for the dinner table tonight or to decorate gift tags or cards. It can also just be a doodling activity enjoyed by young and old alike. Paper lace making is creative and great for stimulating fine motor control and eye-hand co-ordination. And, if a special someone lives out of town, why not let your child post his / her creation as a gift. The simple experience of posting a letter is and adventure for a young child.
You will need:
* A4 paper (white or coloured)
* Scissors (blunt-nosed for preschoolers)
What to do:
1. Fold the A4 piece of paper in half.
2. Fold the paper in half again (now you have quarters).
3. Using your scissors, cut triangular notches out of the folded sides of the paper. Vary the size so that you create a different design.
4. Cutting rounded shapes is a more advance activity for the older child.
5. The full A4-sized piece is easier for the younger child to use. Older children may wish to use smaller pieces of paper.
6. Why not glue the coloured lace work onto a white or black piece of paper to show off the design.
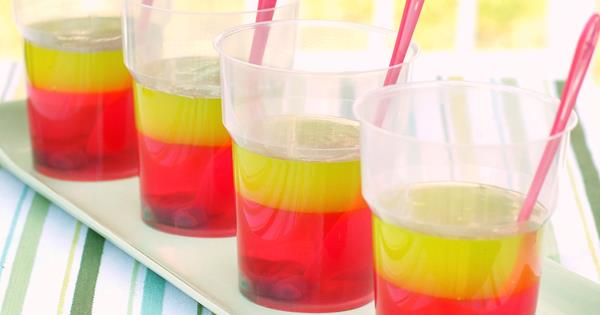
Stripey Jelly
Now here is a very simple but impressive and yummy dessert to make with packets of jelly. It’s also the antidote to instant gratification because your child has to wait patiently for each layer of jelly to set. They will be quite fascinated and the wait will be well worth while. Alternate plain jelly layers with creamy jelly layers for an attractive effect. If you really want your child’s efforts to be appreciated, serve when you have guest around to witness the masterpiece.
You will need:
* Four packets of different coloured/flavoured jelly (or as many as you like)
* 250ml cream
* Boiling water
* Cold water
* Clear glass serving dish or a jelly mould
* Mixing bowl
* Measuring jug
* Spoon
What to do:
1. Make up the first layer of jelly as per the instructions on the packet. Normally dissolve the jelly powder in 225ml of boiling water (parents of younger children need to help with the hot water). Stir until all granules have dissolved and the liquid is clear. Add 225ml cold water. Stir and then pour into the glass serving dish or jelly mould. Place in the fridge to set. This takes 2 – 3 hours.
2. Choose another coloured jelly. Dissolve the jelly powder in boiling water. Now, instead of adding cold water only, add half cold water and half cream (110ml of each will do fine).
3. Gently pour the creamy mixture on top of the first layer of jelly and carefully transfer the dish or mould back to the fridge to set. The creamy layer sets quicker than the clear jelly layer.
4. Make another clear jelly layer and finally top with a creamy layer. You now have a wonderful stripey jelly that is absolutely delicious!
Colour-change flowers
This experiment is so satisfying because it provides results very quickly. You can do it with any white cut flowers (I used iceberg roses from the garden). A good experiment to prove that plants drink water and that water travels upwards from the stem to the petals.
You will need:
* A few white roses or carnations work well
* Two glasses
* Water
* Blue and red food colouring

What to do:
1. Half fill each glass with water.
2. Put approximately half the bottle of food colouring in each glass, making the water in one red, and in the other blue.
3. Now place a flower in each glass and wait to see what happens. Within 1 ½ – 2 hours the flower should have a blue or red hue and then the edges of the petals should start changing colour.
Have fun!
For more ideas of games to play with your child these holidays click here for Week 1 of Making Fun Out of Nothing ideas and here for Week 2.
Click here to find places in Gauteng offering arts and craft classes.
Note: If you enjoyed this article, subscribe to the uniquely detailed free weekly newsletter for parents in Gauteng – Jozikids
Note: If you enjoyed this article, and would like to stay updated with more, you can:
- Subscribe to our free weekly Jozikids newsletter for parents in Gauteng
- Like us on Facebook
- Follow us on Instagram