Today’s project addresses my question about the art project my son brings home from pre-school: “Nice, but what do we DO with that?”
If you would ever like to make something with your child that is beautiful and even slightly useful, this one’s for you. Once it’s finished, the salt can still be used on food.
The Dyed Salt Project is appropriate for children from about 2 years on up to adults — in fact, you may enjoy making one yourself!
What You’ll Need
- salt – 2 kg of fine salt, not coarse, Himalayan, or Kosher salt
- food coloring – how about red, yellow, and blue?
- 4 or plastic more mixing containers – mayonnaise jars or yogurt cups
- spoons
- glass jars with lids, like baby food jars, jam jars, or a pickle jar if you’re feeling ambitious — and if you’d like to make this as an edible gift, how about a used spice jar with shaker holes in the lid?
- eyedropper, optional but helpful. Save one from medicine.
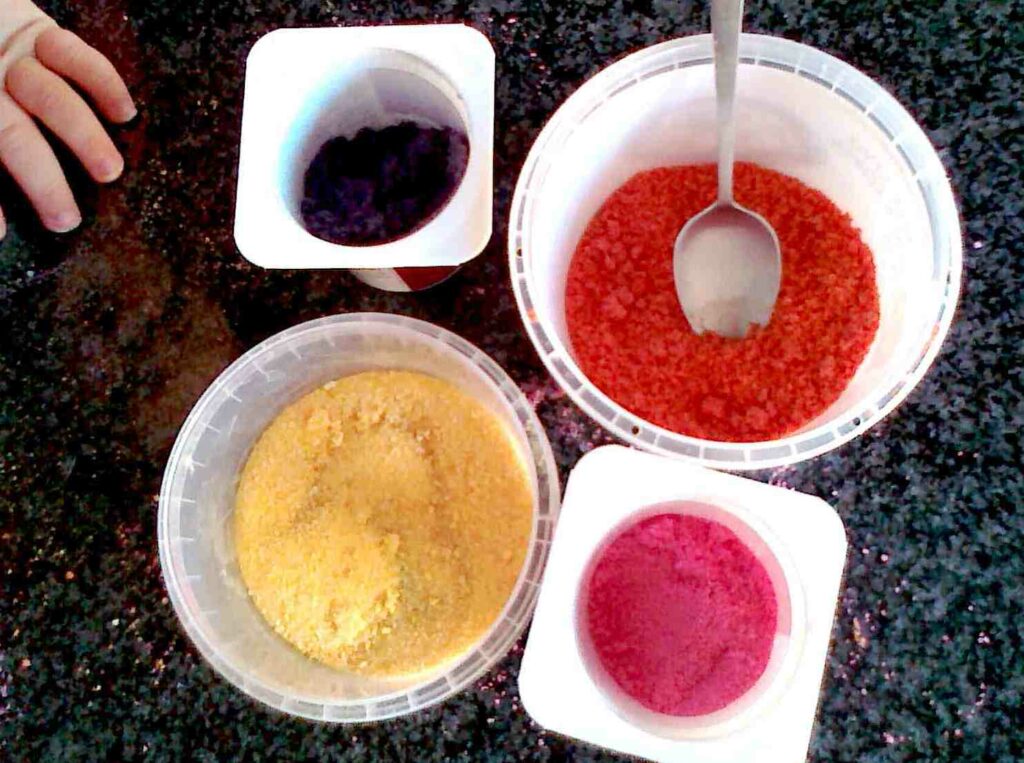
Step 1: Dye the Salt
Salt takes food coloring very well. Pour about a cup of fine salt into a plastic mayonnaise jar and add 3 drops to start (from an eyedropper if possible). Screw the lid on the jar and shake shake shake! This part is fun for kids.
This is also an opportunity to teach your kids about colour mixing. Red + blue = purple, yellow+blue = green.
If you just have open cups like small yogurt containers, fill them halfway up with salt and stir in the food coloring with salt — also fun, but potentially a bit messier.
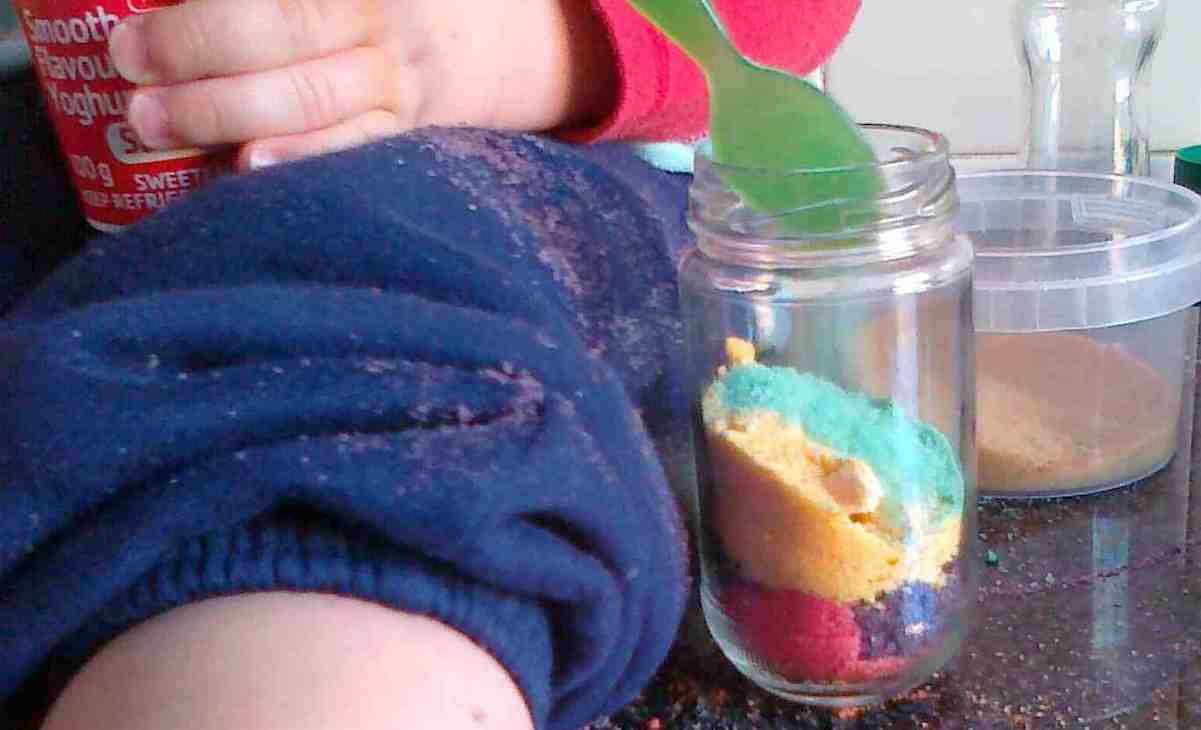
Step 2: Fill the Jars
This is great practice for fine-motor coordination. In our house, it’s also a chance to play “excavator and dump truck.”
Using a teaspoon, dip into the containers of coloured salt and fill up a glass jar layer by layer. Turn the jar so you can see the patterns you are making.
Try to hold the jar relatively still so that it fills up colour by colour rather than making a mishmash.

Step 3: Learning Points
Depending on the age of your child, this is a time to expand vocabulary into areas such as volume (“more, less, halfway, almost full, full”) and colour (“contrast, brighter, darker, same, different”)
It is also OK to taste the salt, to test if different colours taste the same or not, and to feel the salt with the fingertips and check the texture (“grainy, rough, smooth”).
Step 4: Finishing the Masterpiece
Scoop salt in layers of colours until the whole jar is full. If you leave too much space at the top, the salt will tend to slide around and mix (although the pixelated multicolour effect is also interesting, in case your child does decide to shake it up as mine did).
Cap your masterpiece with a shaker lid if you’d like to give it as a seasoning, or with a screwtop lid to serve as a decorative piece or perhaps a paperweight.
Post us a comment below if you try this art project, how old your children are, and what your wins and learning points are!
Click here to find places in Gauteng offering arts and craft classes.
Note: If you enjoyed this article, and would like to stay updated with more, you can:
- Subscribe to our free weekly Jozikids newsletter for parents in Gauteng
- Like us on Facebook
- Follow us on Instagram


4 Responses
Super idea! Much more practical than colored sand and a great learning opportunity for kids.
What a lovely idea, and it really looks like fun that kids of all ages will enjoy!
Love this I am going to try this with my 5 year old, thanks.
Send us a photo when you're done! I'd love to see your version! info{at}jozikids.co.za